This recipe for Sour Cream and Chives Crackers should come to you with a disclaimer. Warning: these are highly addictive. I just cannot stop eating these. Or for that matter, making them. If truth be told my recipe was perfected pretty early on in the recipe development but because of their popularity I couldn’t get pictures quick enough before they all disappeared. My whole family loves them.
If you follow my blog (and you really should be!) you will know before I started creating my own recipes I only made crackers once or twice before. I think I sort of felt they would be a bit tricky. But there are so easy! And so much tastier than store brought. If you haven’t already made any of my previous recipes (such as my Healthier BBQ Shapes or my Carrot Cheddar and Poppy Seed Crackers) I really urge you to start baking these. All of my recipes are super quick and easy! And you should believe me when I say that…I need my recipes to be easy as I am trying to bake around work, a 6 year old school boy and two year old toddler twins.
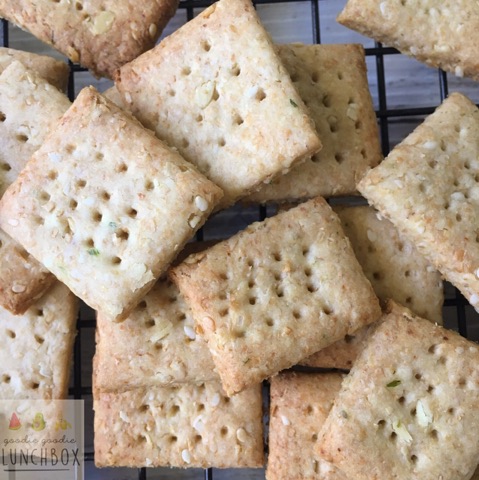
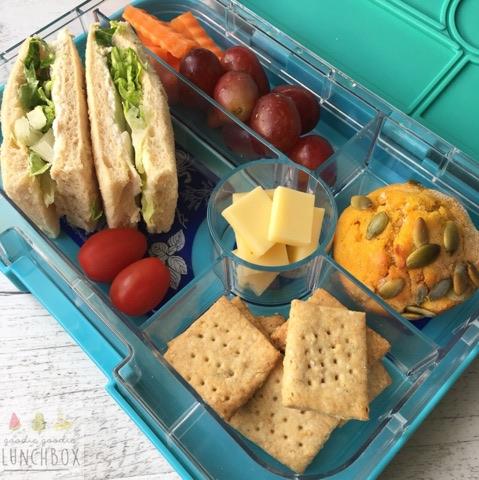
These Sour Cream and Chives Crackers are really crisp and have a lovely subtle onion flavour. And I love the addition of sesame seeds and oats to this recipe. They are just so more-ish. These Sour Cream and Chives Crackers are equally at home on a cheese board as they are in the lunchbox or for snacks.
My recipe for Sour Cream and Chives Crackers makes a really big batch – you will get around 100 crackers. I cut these with a pizza cutter which really speeds up the preparation process. And these crackers freeze really well, so they are a fantastic recipe to stock up your freezer.
Print
Sour Cream and Chives Crackers
- Prep Time: 10 minutes
- Cook Time: 6 minutes
- Total Time: 46 minutes
- Yield: 100 crackers 1x
- Category: Snacks
Ingredients
- 2 cups plain wholemeal flour
- 1/2 cup rolled oats
- 1 tsp baking powder
- 1 tbsp sesame seeds
- 1 tbsp finely chopped chives
- 1 tsp salt
- 1 tsp dried onion
- 75g butter
- 100g sour cream
- Water if required
Instructions
- In a food processor, add all of the ingredients except the water and process until mixture comes together and balls around the bowl. If the mix remains a breadcrumb texture add a little water slowly (up to 1 tbsp). If the mixture appears wet, add a little flour until the consistency is like pastry.
- When the dough is ready, turn onto a floured board or bench (or directly on to baking paper which is a lot easier) and roll out in a rectangle to around 0.25 – 0.5cm thick.
- Carefully lay on baking paper and lay flat in the fridge for at least 30 minutes and pre-heat your oven to 180c.
- When the dough has chilled cut the dough into squares and lightly prick with a fork.
- Bake in the oven for around 6-10 minutes until lightly browned. The time indicated is entirely dependent on how thin your dough is rolled so keep a close eye on the crackers. I find 0.25 cm thickness is ready at around 6 minutes.
I hope you enjoy these! As always let me know if you make them – I love to hear my recipes are being enjoyed.
Happy baking!
Bernadette x


So u can bake them and later freeze them? Wouldn’t it lose the crunch when defrosted and served? Or do you freeze the dough instead?
Yes I bake then freeze for later. I still enjoy them and find they are still crisp enough. I have not tried freezing the dough but I imagine you could do that too. Thanks, Bernadette x