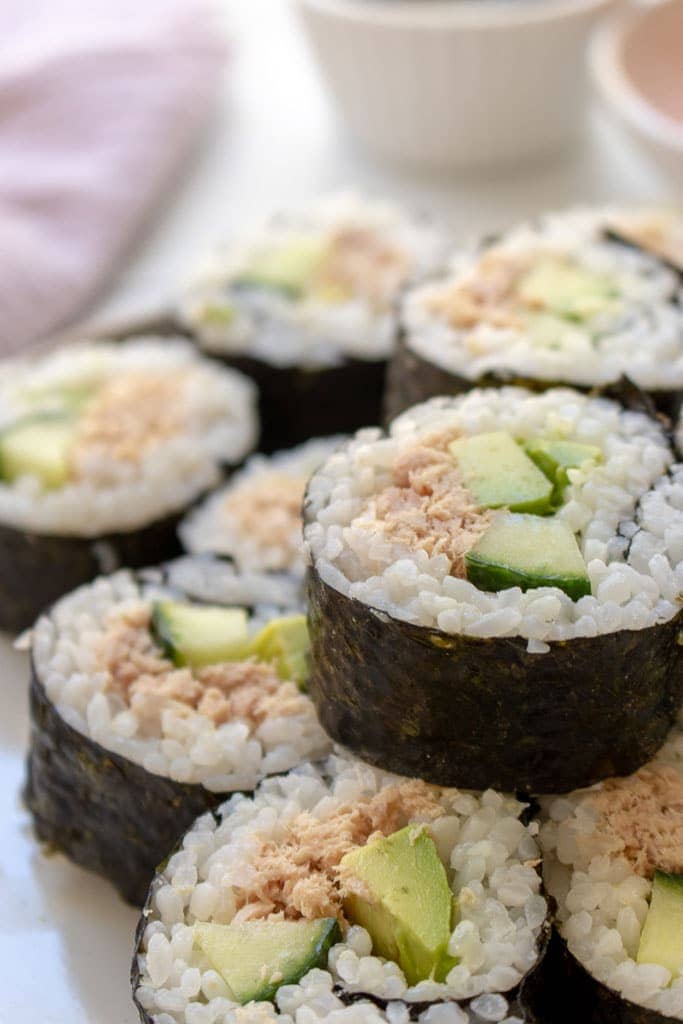
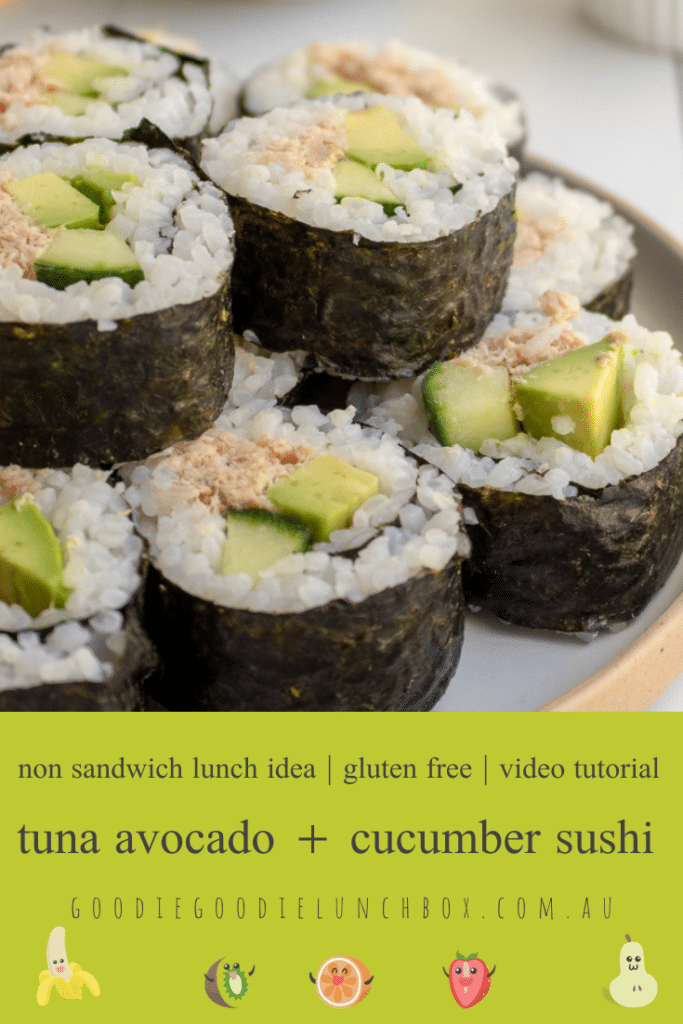
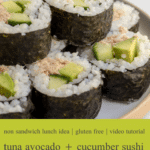
If you haven’t made you own sushi before then you need to get on that train. Pun intended. Aside: do you have Sushi Trains where you live? If not, that pun would not have made sense at all. Anyway. I digress. Sushi is such a great alternative to a sandwich in the lunchbox. And my Tuna Avocado and Cucumber Sushi are so easy to prepare. Once you get the hang of rolling them. And if you’re not feeling confident, all you need to do is watch my helpful video tutorial included in this post.
If it is one thing that the twins love it’s sushi. And I love it too. It is such a great option for school lunches. Especially for those with gluten intolerances or allergies. And better yet, when you learn to master the art of making sushi at home it’s a lot cheaper than buying store brought.
While homemade sushi is relatively simple to make, you will need a bit of time to cook the rice and allow it to cool. So don’t start the process half an hour before you need to leave for the school run. You can however prepare the rice ahead of time and freeze for later. And you can read more on this below!
And while it might take a little time it is not an intensive process. I cook my rice using the absorption method so there is no need to stand over the stove and stir a pot.
Ingredients Substitutions and Equipment
To make sushi you only need a few ingredients and you do not need lots of specialty equipment – you really only need a bamboo rolling mat which is widely available at most supermarkets and inexpensive. This recipe will make 6 hand rolls or 24 pieces of sushi.
You will need:
- 1.5 Cups (300g) Japanese Short Grained Rice. In Australia this is known as Sushi Rice and can be purchased from most supermarkets. This variety of white rice holds moisture and is sticky once cooked. You could use Arborio Rice as a substitute as it is similar in consistency once cooked but is worth grabbing the Sushi Rice. Long grained rice such as Jasmine Rice or Basmati Rice are not suitable substitutes as they will not be sticky enough to hold together.
- 2 tbsp Rice Wine Vinegar. Rice Wine Vinegar is a delicate and sweeter vinegar that is key to seasoning the rice. This is available at most supermarkets. You could use Apple Cider Vinegar.
- 1.5 tsp Caster Sugar. Caster Sugar is a refined white sugar used to create the sushi seasoning with the vinegar. You could also just use White Sugar. Don’t be tempted to leave this out as it is key to seasoning the rice and will balance the vinegar.
- 1/4 tsp Salt. Used to season the rice and balances out the sugar in the sushi seasoning. Again, don’t be tempted to omit.
- 3 Nori Sheets. Nori means ‘edible seaweed’ in Japanese and is literally dried and rolled seaweed. Nori can be purchased from most supermarkets.
- 185g Canned Tuna drained. Tuna is a great source of protein. If you are looking to make a vegetarian or vegan sushi you can just omit or replace with thinly sliced or grated carrot.
- 3-4 tsp Mayonaise. I use this to add moisture to the tuna, if using. You can use Kewpie Mayonnaise if you prefer but I just use the regular whole egg mayonnaise.
- Juice of 1/2 a Lemon. I add to the tuna mix to add more flavour. You could omit if you like but I like the added flavour. If you do omit you may find you need some more mayo.
- Pepper to taste. Pepper is also used to season the tuna in this recipe. You can also omit if preferred.
- 1/2 Avocado Sliced. You may need more or less depending on the size of your avocado. Avocado is a great source of healthy fats and help lower cholesterol. They are also a good source of Vitamin C, E, K and B-6.
- 150g Cucumber. I trim the seeds from the core of the cucumber before slicing into sticks.
Making the Sushi Rice
Cooking the Rice Using an Absorption Method
I like to cook my rice using an absorption method. This delivers the best and most consistent results, but it did take me a few tries at making the rice before I perfected it, playing around with the size of the saucepan, the heat and the timing.
I get the best results by using a medium saucepan and cooking the rice over a consistently low heat and ensuring it is covered by a well fitting lid. It is also important to allow the rice to rest and resist the temptation to take a sneaky peek during the cooking and resting process. That lid needs to stay on. The whole time. Seriously.
It is also important to ensure your measurements are precise and the ratio or rice to water is maintained. If you are doubling the recipe you may also need to increase the cook and standing time.
If you have cooked rice using the absorption method before you will know that long grained rice does not need to be rinsed. This is not the case with sushi as you are using a short grained rice.
Instructions for Cooking Sushi Rice
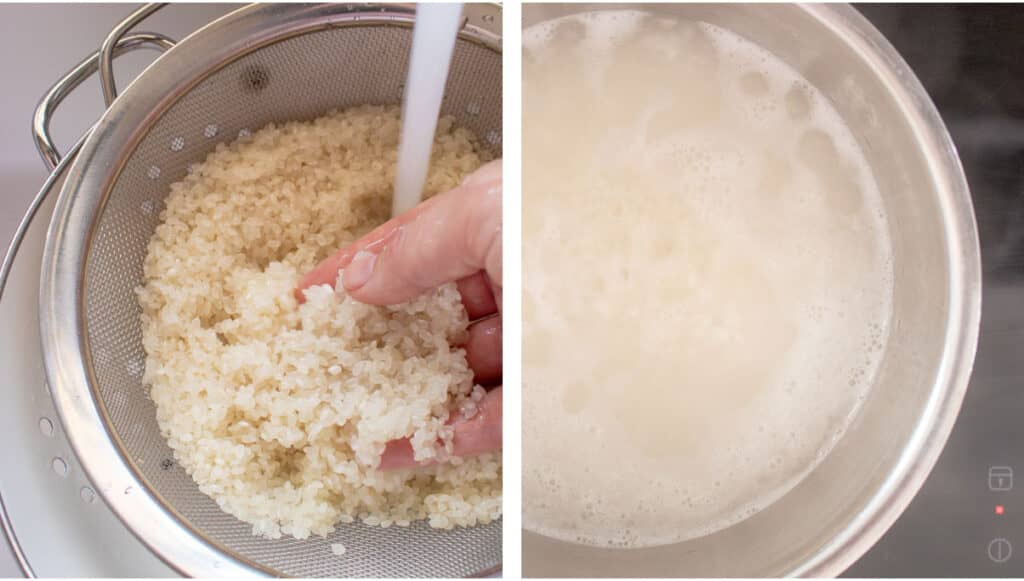
To cook the sushi rice, firstly rinse off 1.5 cups (300g) of rice in cold running water for around 45 seconds using a sieve.
Next drain the rice, trying to remove as much water as you can by gently shaking the sieve. When you have removed as much as possible, transfer the rice into a medium sized saucepan.
Cover the rice with 1 3/4 cups (435ml) of cold water, stir together once to ensure the rice is evenly distributed and then over a medium high heat bring to a consistent simmer until the water is gently rippling and looks foamy on top. This will take several minutes. Do not stir during this heating process.
When the water is foamy and gently rippling, cover the saucepan with the lid and turn the element down to a low heat and cook for 18 minutes. After 18 minutes remove the saucepan from the heat, and without lifting the lid, allow the rice to stand for a further 15 minutes. This will continue the cooking process.
Seasoning and Cooling the Rice
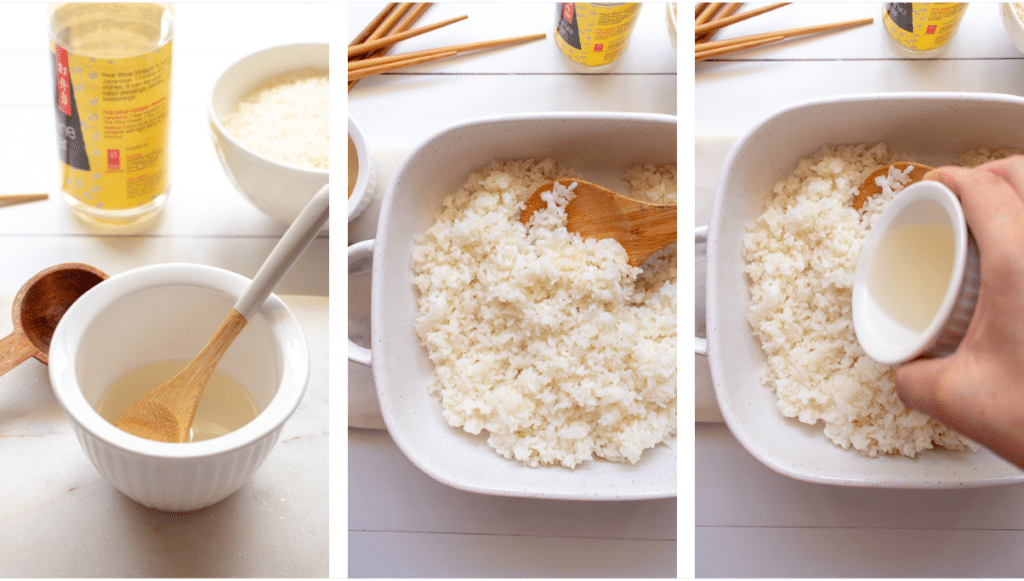
While the sushi is standing, make the sushi seasoning. In a small bowl combine 2 tbsp rice wine vinegar with 1.5 tsp caster sugar and 1/4 tsp salt. Stir gently until the sugar and salt has dissolved.
After the rice has stood for 15 minutes, transfer the rice into a shallow dish and spread the rice over the base of the dish gently with a wooden spoon.
Pour half the seasoning over the rice and with a wooden spoon stir fold through the rice. Then repeat using the remaining half of the seasoning, folding through so the rice has been evenly seasoned. Set aside to cool uncovered near an open window for around 30 minutes.
While the rice is cooling, prepare your fillings. Prepare the tuna by draining a 185g can of tuna and add this into a small bowl. Mix with 3-4 tsp mayonnaise (according to your taste) with juice of half a lemon and pepper to taste. De-seed and slice 150g cucumber into sticks and slice 1/2 an avocado lengthways into strips.
When the rice has cooled sufficiently you are able to assemble the sushi.
Rolling the Sushi
To make the Tuna Avocado and Cucumber Sushi take a sheet of Nori and place the sheet shiny side down on a bamboo rolling mat. The texture of the shiny side is smoother to the touch.
Next, spoon 1/3 of the seasoned rice, loosely covering the Nori. With wet hands press the rice over the sheet evenly over the sheet, covering the sheet with the exception of a 2cm strip at the end of the sheet furthest from you. You will need this strip to be kept free from rice so you can seal the sushi properly.
Then layer your fillings, the cucumber, avocado and tuna in strips width-ways on the side of the sheet closest to you, trying to keep these as close together as possible.
Next, roll the sushi from the end closest to you, making sure to press firmly as you roll and keeping the bamboo mat over the nori sheet. While you are rolling the sushi, check that the nori is tucked in and under to form a compact log. When you have rolled the sushi, wet the portion of nori that has been left free from rice with water then roll tightly to seal. You can now roll the sushi out from the bamboo mat.
With a wet knife cut the sushi into half for hand rolls of into 8 portions for bite sized potions perform for the lunchbox.
Repeat with the remaining ingredients.
You can also watch my tutorial here:
Storing Sushi Safely
If you are sending Sushi to school you will need to ensure that you are sending safely in an insulated lunch bag and stored at a food safe temperature in a quality insulated lunch bag or in a refrigerator. Even though this recipe for Tuna Avocado and Cucumber Sushi does not contain raw fish, the rice in sushi kept at room temperature for too long can develop bacteria and cause food poisoning.
Freezing Cooked Sushi Rice
If you have leftover rice or would like to prepare the rice in advance you can freeze cooked sushi rice for around one month.
To freeze cook the rice, season and cool slightly then spoon into a reusable ziplock bag. Shape the bag into a log shape with the air removed from the bag and then freeze. When you would like to use the rice, you can take the rice out of the freezer and defrost overnight in the fridge. Use immediately the next day, discard any leftover rice and do not refreeze.
Want More Non-Sandwich Lunch Ideas?
You may also love these sandwich free lunch ideas:
- This light but substantial Zucchini Slice is a perfect protein packed addition for school lunch boxes
- Or you may enjoy this Hot Smoked Salmon and Broccoli Rice Salad
- If bite size is your thing check out these delicious mini Pea Feta and Mint Frittata
- And my Vegetarian Noodle Soup is just perfect for cooler days
Do you love this recipe? Remember to rate it ★★★★★
Print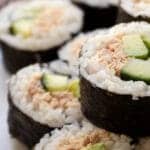
Tuna Avocado and Cucumber Sushi
- Prep Time: 20 minutes
- Cook Time: 38 minutes
- Total Time: 90 minutes
- Yield: 6 hand rolls 1x
- Category: Sushi
- Method: Stove Top
- Cuisine: Japanese
Description
These delicious Tuna Avocado and Cucumber Sushi makes a great gluten free main in the lunchbox and a perfect swap for a sandwich.
Ingredients
- 1 1/2 (300g) cups of Sushi Rice
- 2 tbsp rice wine vinegar
- 1 1/2 tsp caster sugar
- 1/4 tsp salt
- 185g canned tuna
- 3–4 tsp mayonaise
- juice of 1/2 lemon
- pepper to taste
- 1/2 avocado sliced lengthways
- 150g cucumbers de-seeded and cut into sticks
- 3 Nori sheets
Instructions
- Measure rice into a sieve and rinse under cold running water for around 1 minute. Drain well.
- Add the drained rice into a saucepan with 1 3/4 (435ml) of cold water and stir around once just so the water is mixed.
- Over a medium high heat bring the water to a low and slow simmer, the water will start to ripple and become white and foamy. This process will take several minutes. Do not stir the rice during this time.
- Cover with a lid and reduce to a low heat and simmer for 18 minutes. Do not remove the lid.
- When the rice has cooked for 18 minutes remove from the heat and set aside for a further 15 minutes. Do not remove the lid as the rice will continue cooking during this time.
- While the rice is standing prepare the seasoning. In a small bowl mix together the rice wine vinegar, sugar and salt until the mix is combined and the sugar and salt have dissolved. Set aside.
- When the rice has finished cooking, with a wooden spoon, spread out the rice over the base of large dish. Using half the seasoning pour over the rice and use your wooden spoon to gently fold through. Repeat with the remaining seasoning. Set the rice aside to cool near an open window for 30 minutes. You can fan the rice if you would like a quicker cooling time.
- When the rice has cooled you can now assemble the sushi. Take one nori sheet and place smooth/shiny side down on a bamboo rolling mat.
- Spoon 1/3 of the rice evenly over the nori sheet and then with wet hands press and spread the rice evenly over the sheet and to the edges with the exception of a 2cm strip on the side furthest from you. This is required to ensure you can seal the sushi roll.
- Layer the Tuna Avocado and Cucumber in strips width-ways on the side closest to you, ensuring that they are close together.
- Next firmly roll the sushi lengthways using the bamboo mat from the side closest to you to the side furtherest from you. While you are rolling the sushi check to make sure the nori is tucked in and under the sushi roll as you are rolling.
- When you reach the strip of nori that you have left to seal the sushi roll, wet the strip of nori with water then continue to roll the sushi removing the bamboo mat when you have finished.
- With a sharp wet knife, halve the sushi roll to make two hand rolls or cut into 8 portions for bite sized pieces for the lunchbox.
Notes
Detailed instructions and a rolling tutorial are included in the body of the blog post.
I hope you enjoy this recipe, and if you make these please share with me on my socials. You can catch me on Instagram or Facebook. Also if you love my recipes it would be so helpful if you can rate them!
Happy lunching,
Bernadette xxx

